

TL;DR:
- Building a custom watch offers a unique sense of ownership unmatched by mass-produced timepieces.
- Proper planning, compatible parts, and careful assembly are crucial for a successful custom watch.
- The process emphasizes craftsmanship and personal connection over cost or efficiency.
There’s a real difference between wearing a watch and wearing your watch. Mass-produced timepieces are designed for everyone, which means they’re designed for no one in particular. When you build your own, you choose every component, every finish, every detail. That’s a level of ownership no brand can offer you off the shelf. This guide walks you through the full process, from gathering tools to final testing, with clear steps and practical advice. Whether you’re a first-time builder or looking to sharpen your skills, you’ll leave here knowing exactly what to do.
Table of Contents
- What you need to build a custom watch
- Planning your perfect design
- Step-by-step assembly process
- Testing, troubleshooting, and making it yours
- The truth about building your own luxury watch
- Ready to create your signature timepiece?
- Frequently asked questions
Key Takeaways
| Point | Details |
|---|---|
| Gather the right tools | Having high-quality tools and a clean workspace makes every step smoother and safer. |
| Plan design and compatibility | Design your watch with practicality and style in mind, always checking part compatibility first. |
| Follow a step-by-step assembly | Carefully assemble your watch in the correct order to avoid damaging delicate parts. |
| Test before first wear | Take time to test functionality and accuracy so your custom timepiece works flawlessly on your wrist. |
What you need to build a custom watch
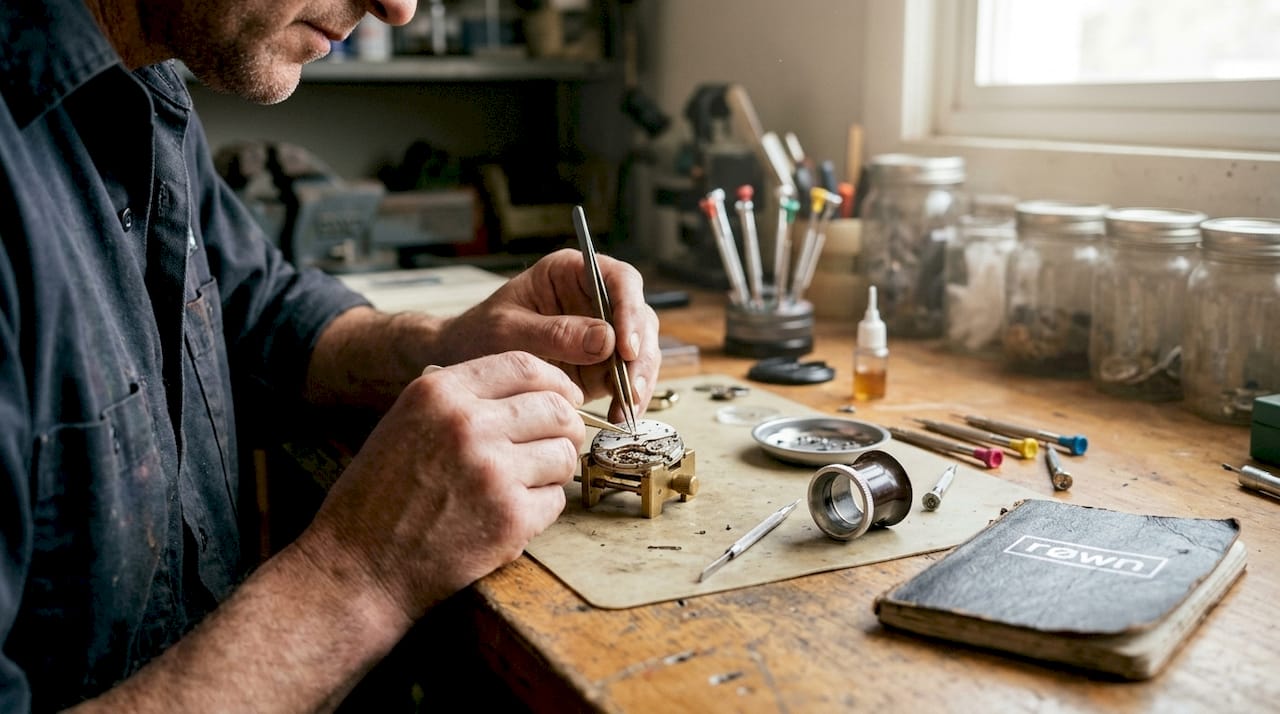
To begin any successful watch project, you need the right materials and environment. Showing up without the proper tools is the fastest way to strip a screw, scratch a dial, or damage a movement. Get your setup right before you touch a single component.
Tools you’ll need
- Screwdriver set (multiple sizes, watch-specific)
- Hand press with interchangeable dies for pressing hands
- Fine-tip tweezers (anti-magnetic preferred)
- Loupe or magnifying glass (5x to 10x)
- Case back opener (both friction and wrench types)
- Rodico or similar sticky putty for handling small parts
- Cleaning cloth and blower brush for dust
- Movement holder or movement cushion
Components you’ll be assembling
| Component | What to look for |
|---|---|
| Case | Size, lug width, crown position |
| Crystal | Sapphire vs. mineral, fit diameter |
| Bezel | Style (flat, coin edge, diver) |
| Movement | Caliber type, size, complications |
| Dial | Feet spacing, hole placement |
| Hands | Tube diameter, height clearance |
| Crown and stem | Matching thread and length |
| Gaskets | Case-specific sealing rings |
| Strap or bracelet | Lug width match |
Understanding your movement types guide early helps you match the right movement to your case and dial. Similarly, planning watch hands customization ahead ensures you order the right tube diameters from the start.
Your workspace matters as much as your tools. Work on a clean, flat, static-free surface. A watch repair mat or foam pad works well. Keep your space free of dust, and never work near fans or open windows. Even a small speck of debris inside a movement can cause real problems.
Pro Tip: Invest in quality screwdrivers with rotating heads. Cheap ones slip, and a single slip can gouge your dial or movement plate. It’s a small cost that protects a much bigger investment.
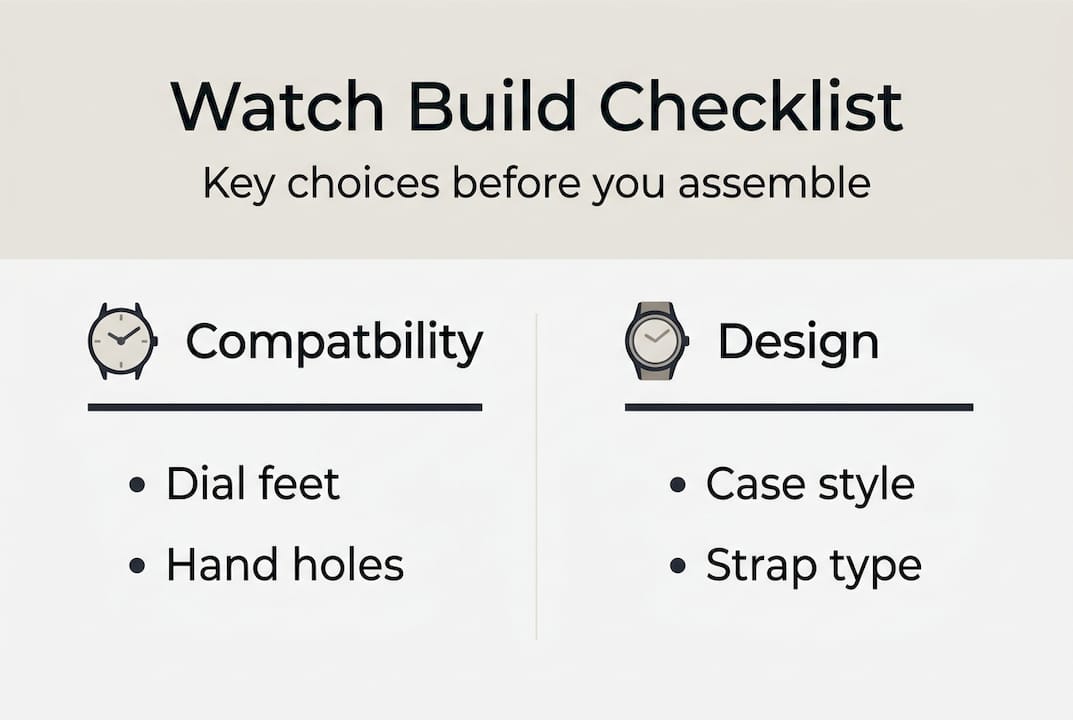
Before buying any parts, plan design and check compatibility covering dial feet spacing, hand hole sizes, and stem length. Compatibility is everything. One mismatched part can halt your entire build.
Planning your perfect design
Once you know what you need, solid design planning sets your project up for aesthetic and technical success. This stage is where your vision takes shape. Rushing it leads to mismatched parts and frustrating do-overs.
Start by defining your watch’s purpose. Is this a daily wearer, a dress watch for formal occasions, a rugged diver, or a casual sport piece? That answer drives nearly every component decision you’ll make.
Watch styles and typical component choices
| Style | Case finish | Dial | Hands | Strap |
|---|---|---|---|---|
| Dress | Polished steel or gold | Simple, clean | Dauphine or sword | Leather |
| Diver | Brushed steel | Bold, high-contrast | Lumed, broad | Rubber or bracelet |
| Field/Sport | Matte or mixed | Functional, Arabic | Straight or baton | NATO or canvas |
| Dress/casual hybrid | Polished or PVD | Sunburst or textured | Leaf or pencil | Leather or mesh |
For style matching tips that go beyond the basics, it helps to see how components interact visually before you order. And if you’re thinking about straps early, exploring custom strap selection gives you a strong sense of how much a strap influences the final look.
Key design decisions to make before ordering
- Dial color and texture: Sunburst, matte, fumé, or guilloché?
- Hand shape: Sword, cathedral, pencil, Dauphine, or alpha?
- Index style: Applied markers, printed numerals, or no indices?
- Case finish: Full polish, full brush, or a two-tone combination?
- Bezel type: Fixed, unidirectional rotating (diver), or coin-edge?
Pro Tip: Sketch your design on paper or use a free online watch visualizer before purchasing. It takes 10 minutes and can save you from ordering a combination that doesn’t look right once assembled.
Always check compatibility for dial feet, hand holes, and stem length at this stage. A dial that doesn’t seat properly on your movement makes all the aesthetic work pointless. Confirm specs with the supplier before finalizing your order.
Step-by-step assembly process
With your design set and parts verified, it’s time for careful, rewarding assembly. Follow each step in order. Don’t rush, and don’t force anything.
- Prepare your movement. Place it in a movement holder. Check that it winds and hacks (stops) correctly.
- Attach the dial. Align the dial feet with the movement’s dial foot holes. Tighten the dial foot screws gently. Over-tightening can crack a dial.
- Press the hands. Use your hand press with the correct die size. Proper hand heights are critical: hour hand at 1.5mm, minute hand at 0.9mm, and second hand at 0.2mm above the dial. Press each hand straight down and check clearance between layers.
- Set hands to 12 o’clock. Before casing, set the time to 12:00 so alignment is easy to confirm once cased.
- Insert the movement into the case. Fit it gently, confirm the crown stem aligns with the crown tube, and seat the movement ring if your case uses one.
- Seat the gaskets. Apply a thin layer of silicon grease to the crown gasket and caseback gasket. This maintains water resistance.
- Install the crystal and bezel. Press-fit or thread depending on your case design.
- Attach the crown and stem. Thread the stem into the movement, fit the crown, and confirm all positions (wind, date, time) function smoothly.
- Close the caseback. Screw down or snap shut, depending on type. Use your case back opener for torque control.
Critical warning: Never force the hand press. If a hand isn’t seating cleanly, remove it and check the tube diameter. Forcing causes bent hands and, worse, damaged cannon pinions. Always align hands when the movement is fully wound and the second hand is at 12.
For a full visual reference on the watch building walkthrough, it helps to see each stage before attempting it. If you’re working with an NH38 or NH70 caliber, the NH38/NH70 assembly care guide covers specific setup details.
Pro Tip: Set hands with the crown pulled to the time-setting position, not while winding. This prevents the cannon pinion from shifting while you press.
Testing, troubleshooting, and making it yours
Once your watch is assembled, these finishing steps ensure it works and feels custom-made. Testing isn’t optional. It’s how you confirm your work before wearing it daily.
Post-assembly checks
- Wind the movement fully by hand and confirm the rotor spins freely (for automatics)
- Check hand clearance by pressing lightly on the crystal and observing all three hands
- Test all crown positions: winding, date setting, time setting
- Confirm smooth sweep of the second hand with no stuttering
- Inspect under a loupe for dust, fingerprints, or debris under the crystal
Important: Avoid setting the date between 9PM and 4AM. During this window, the date mechanism is mid-cycle. Forcing a date change during this period can strip the date wheel or bend the date finger.
Common build problems and fixes
| Problem | Likely cause | Fix |
|---|---|---|
| Hands touching or sticking | Wrong hand heights | Re-press with correct die depth |
| Dust under crystal | Dirty workspace or crystal | Disassemble, clean with blower |
| Crown not engaging | Stem length too short | Replace with correct stem |
| Seconds hand stutters | Dirty pivot or loose hand | Clean movement, re-seat hand |
| Caseback won’t seal | Misaligned or dry gasket | Re-grease and reseat gasket |
Once everything checks out, the real fun begins. Swap the strap to something that matches your wardrobe. Try a NATO, a leather band, or a metal bracelet. Consider engraving the caseback with a date or initials. These final touches are what separate a well-assembled watch from a truly personal one. For more on pulling the look together, essential watch style tips gives practical ideas on wearing your creation with confidence.
The truth about building your own luxury watch
Let’s be direct about something most guides won’t tell you: building a custom watch is not about saving money. Premium components often cost more than a comparable production watch. You’re not doing this for value. You’re doing it for the experience and the connection.
Every builder makes mistakes. A scratched dial on your first build teaches you more about handling than any video tutorial. That’s not a failure. That’s the process working correctly. The watches you build with some earned frustration behind them are the ones you’ll wear with genuine pride.
No brand logo carries the story your watch carries. You chose the dial. You pressed the hands. You closed that caseback. That’s something mass production can’t replicate, and it fundamentally changes how you look at watch craftsmanship insights from here on. Once you’ve built one, you’ll never look at any timepiece the same way again.
Ready to create your signature timepiece?
You’ve got the knowledge. Now it’s about taking the next step and turning that into something real on your wrist.
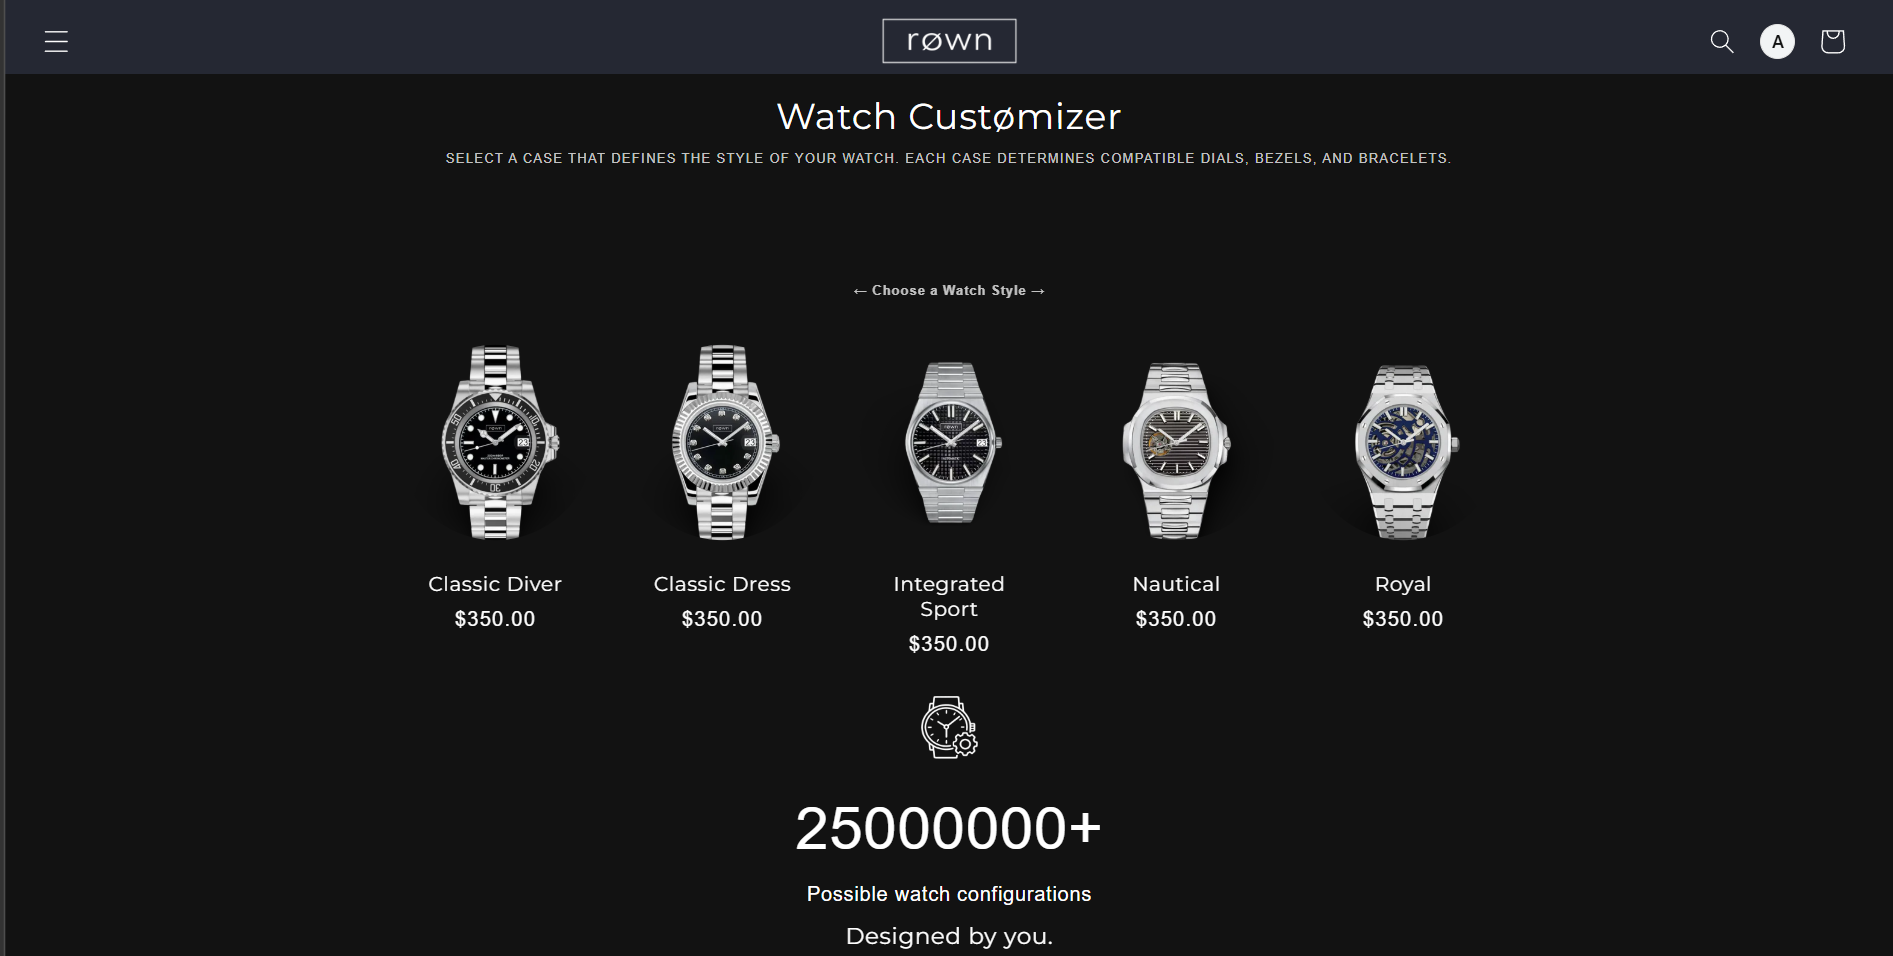
At Røwn, you’ll find a curated selection of custom men’s watches built around the same principles you just learned: quality components, thoughtful design, and full personalization. If you want a starting point with serious style, the custom diver is a standout option that pairs strong visuals with reliable mechanics. You can also browse bracelet options to complete your build with a strap or bracelet that fits your look perfectly. Free shipping and a premium build experience make it easy to get started today.
Frequently asked questions
What key tools do I need to build a custom watch?
You’ll need a set of screwdrivers, hand press, tweezers, a loupe, and a case back opener for safe and precise assembly.
How do I choose compatible parts for my custom watch?
Always confirm that dial feet, hand holes, and stem length match your movement before purchasing any components.
What are the biggest mistakes when building your own watch?
The most common errors are forcing the hand press, skipping compatibility checks before ordering, and assembling in a dusty or cluttered workspace.
How can I test if my custom watch is working properly?
Wind the movement, verify hand clearance, and avoid date changes between 9PM and 4AM to protect the date mechanism during testing.